Apple pie can be as simple or sophisticated as you want to make it. There are countless apple pie recipes to choose from, but you may have questions on the nitty-gritty if you open up a recipe that provides more simplified instructions for the filling than you need. And unfortunately, one misstep could result in a runny or soggy mess – though, probably still tasty.
Whether you are making your first, your hundredth, or just need a little refresher, check out following tips geared towards helping you make a successful filling for this iconic comfort food. Plus, we’ll look at how to use frozen apples in place of fresh.
Preparing Apples for Pie Filling
First things first, select the type of apple you’ll be using in your pie, if the recipe doesn’t specify or if you don’t have the variety called for already on hand. Favorites of bakers include Granny Smith, Golden Delicious, Braeburn, Cortland, Jonagold, and Honeycrisp, though there are other options and combinations out there of course. With your bushel ready, prep your apples to meet the oven.

Step One
We used eight medium Granny Smith apples and a mixture of 2/3 of a cup sugar, 1/3 of a cup all-purpose flour, and one tablespoon of cinnamon to make Emily’s Famous Apple Pie filling. (For interesting flavor and texture, try using two or more types of apples in your filling.) A pinch of salt and a dash of ground cloves enhance the cinnamon spice flavor.
Step Two
Use a peeler or paring knife to peel the apples. If you have an apple corer, use it while the apple is still whole. Cut the apple in half to remove the seeds, blossom end, and stem.
Step Three
Use a melon baller, spoon, or paring knife to remove the seeds and hard flesh of the core. If you used an apple corer, remove any remaining bits of core with your paring knife.
Step Four
Cut the apples into even slices no more than 1/4-inch-thick. If you like a chunkier pie, cut the apples into 1/2-inch cubes. To ensure the apples bake evenly and completely, the fruit pieces should be cut to roughly the same size. However, apples sliced to slightly different thicknesses can enhance the textural intrigue of your pie filling.
Step Five
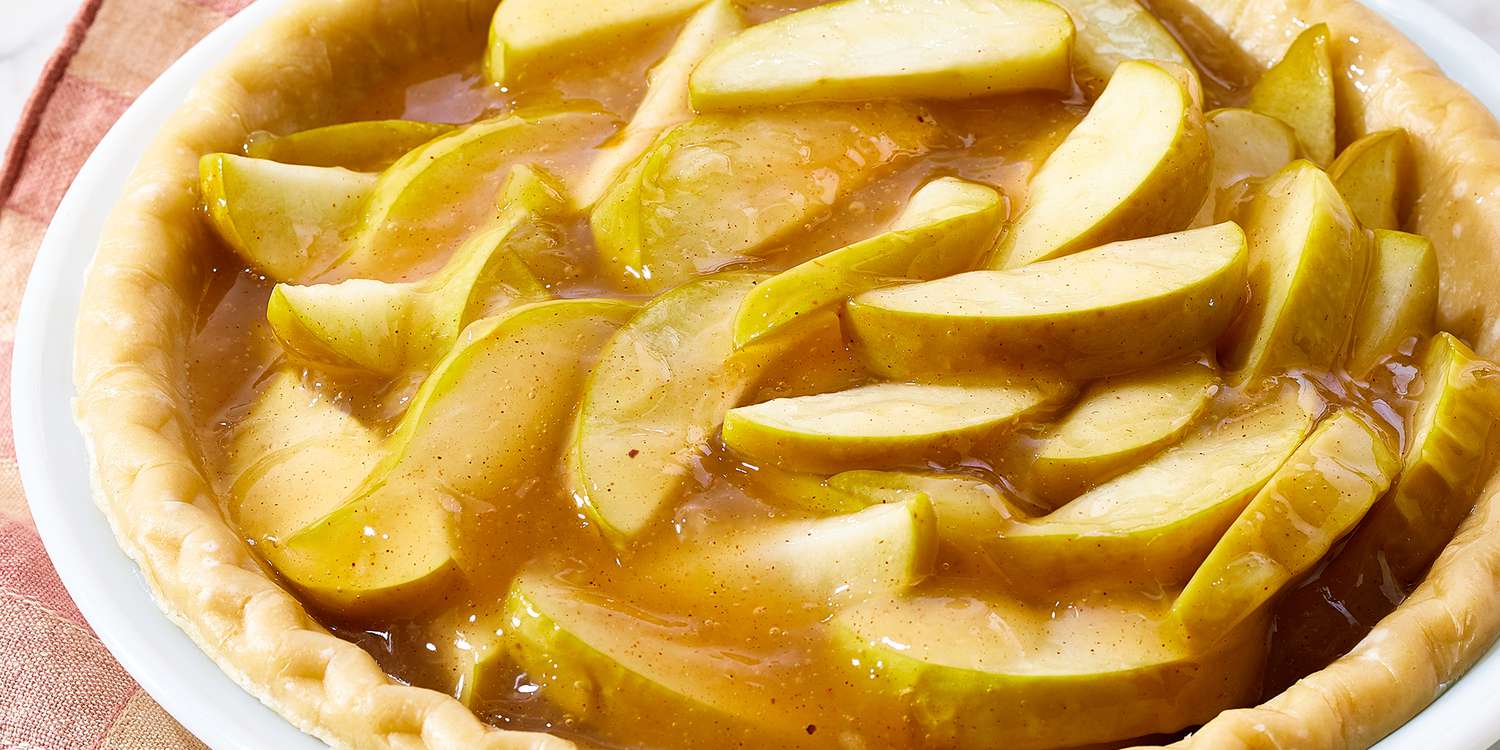
In a large bowl, toss the apples with the sugar-flour-spice mixture. If you’re using a sweeter variety of apple, add a tablespoon of fresh lemon juice to brighten the flavor. Transfer the filling to a pastry-lined pie plate. The flour in the mixture will mix with the juices of the apple to form a thick cinnamon sauce for the apples to stew in as they bake.
Step Six
Top the pie with a crumb topping, a lattice crust, or a full crust, as desired, and bake as directed.
Easy Apple Pie Upgrades
For a fancier pie, try adding in other fruits like cranberries, cooked sliced quince, dried cherries, or different spices and nuts to the pie filling. You can also make a caramel sauce using apple cider or Calvados (apple brandy) to mix with the fruit.

Using Frozen Apples for Apple Pie
Apple pie can also be made using frozen sliced or cubed apples. Just like there are better apples for baking, there are also better apples for freezing. Luckily, most of the favorites for baking hold up well in the freezer as they are more firm to begin with, especially Golden Delicious, Granny Smith, Empire, Cortland, and Jonagold.
Peel, core, and slice or cube your apples as described above, and then lay them on a baking sheet. Cover with plastic wrap and freeze for a few hours, or overnight, and then transfer to a freezer-safe container or resealable plastic bag. Frozen applesshould last up to a year and can be tossed with the other pie filling ingredients to go directly into the pie without needing to be defrosted first.
Easier still, if you want to make it convenient to whip up your next pie at any moment, make the whole pie filling ahead of time and freeze it in freezer-safe bags. Stored this way, the filling should last up to 12 months.
Likewise, you can make your crust while you’re at it and freeze the whole pie, unbaked or baked (and fully cooled), for up to three months. Just make sure to wrap it tightly in aluminum foil and/or plastic wrap to protect it from freezer burn.
Added bonus: Frozen pies can go straight into the oven, no thawing necessary. You will simply need to add a bit of extra baking time to your recipe.
Keep Reading:
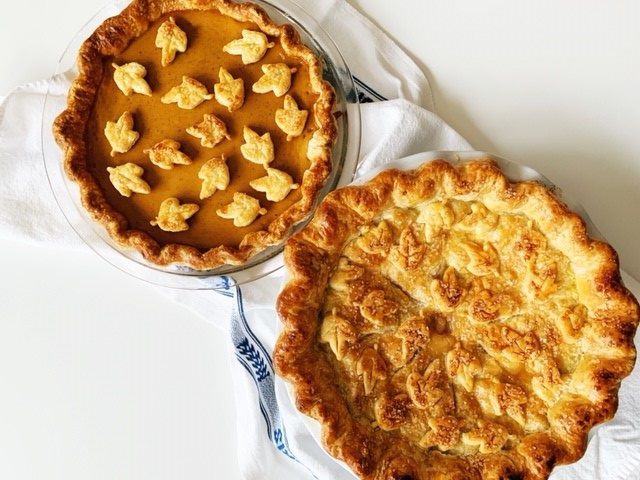
- How to Make Fancy Pie Crust Toppers
- 18 Vintage Pies from Grandma’s Recipe Box
- 15 Thanksgiving Apple Pie Recipes